

When you add a printer to your Windows 11 computer, it will automatically install and set it up using the default printer settings. It will assign the printer a generic name based on its manufacturing brand and the printer model. This means if you need to use multiple printers, identifying a specific one can be confusing.
Fortunately, you can change the name of any printer connected to your Windows 11 PC in multiple ways. Thus, you can assign a shorter, more easily identifiable name or one that includes location information to ensure the print job goes to the right printer. Here are the various ways by which you can rename a printer in Windows 11.
Using the Settings App
The simplest way of renaming a printer on Windows 11 is through the Settings app.
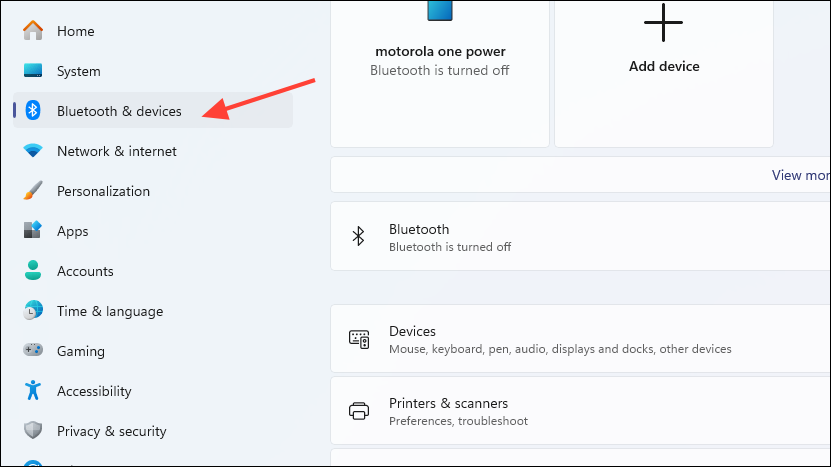
- Open the Settings app from the Start menu and click on the 'Bluetooth and Devices' option on the left.
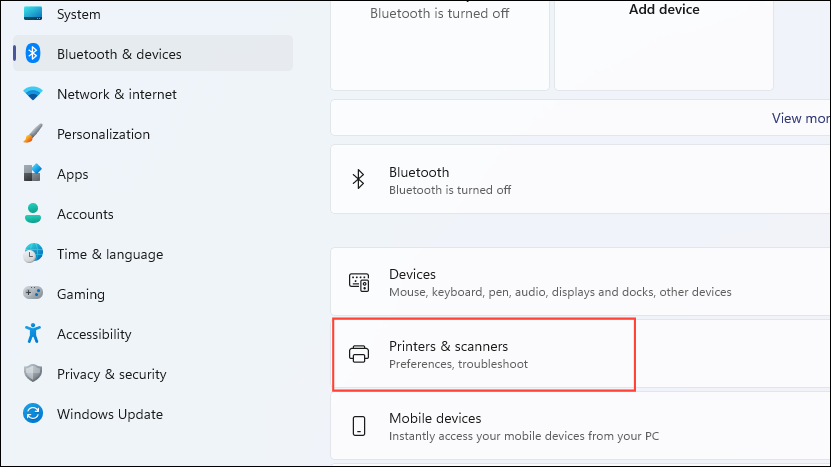
- Next, click on the 'Printers and Scanners' option.
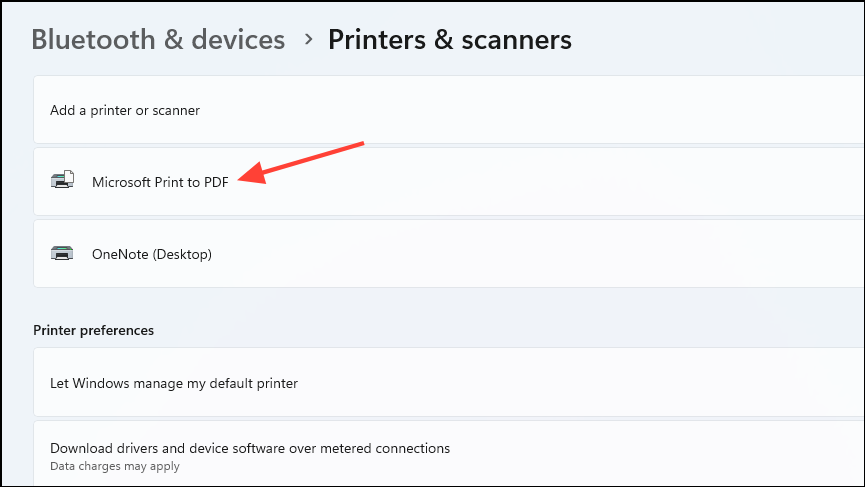
- Select the printer you want to rename by clicking on it, for instance, 'Microsoft Print To PDF' in our case.
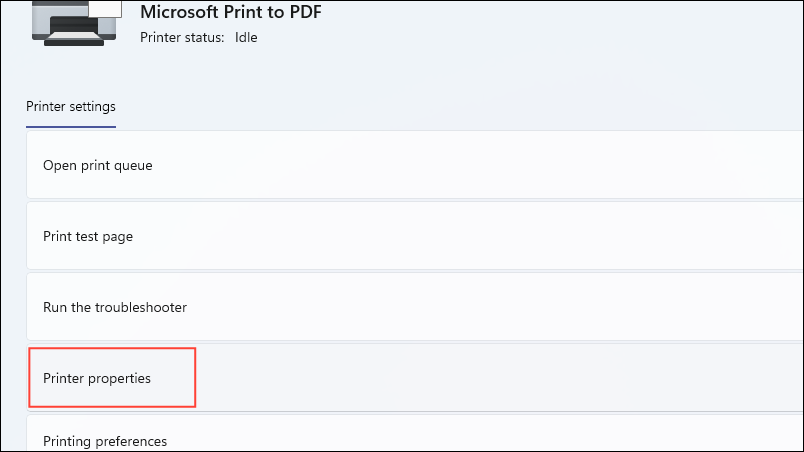
- On the next page, click on the 'Printer Properties' option.
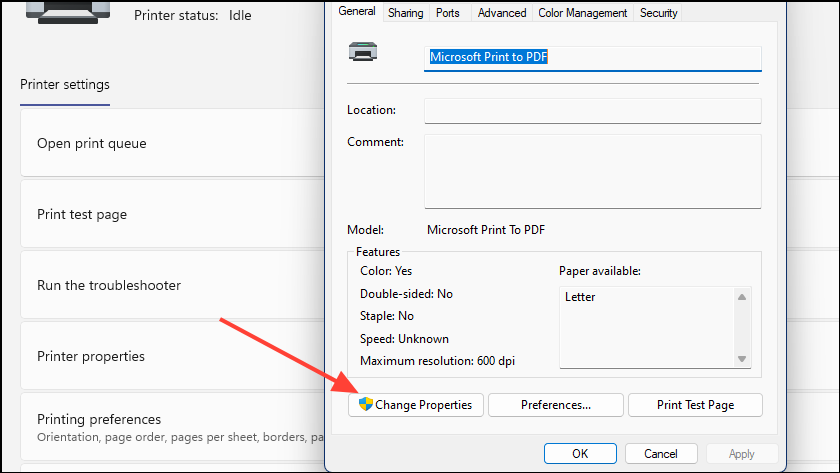
- When the Printer Properties dialog box appears, click on the 'Change Properties' button.
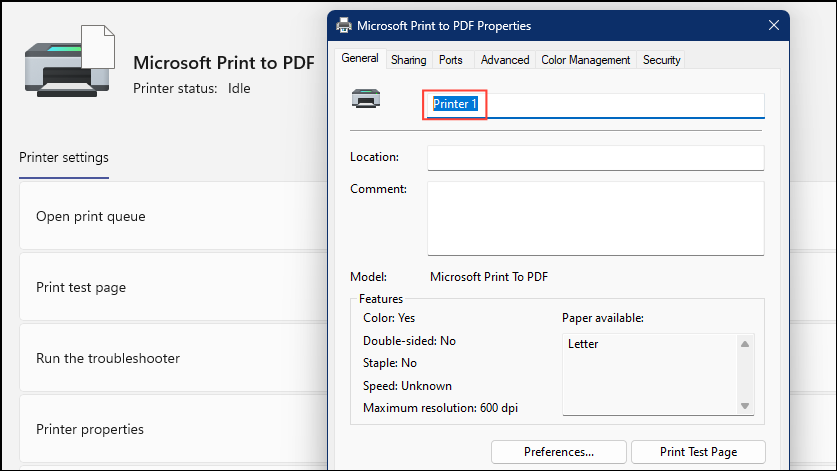
- Now you can simply type in a new name, such as 'Printer 1' where the default printer name appears next to the printer icon, and click on the 'OK' button.
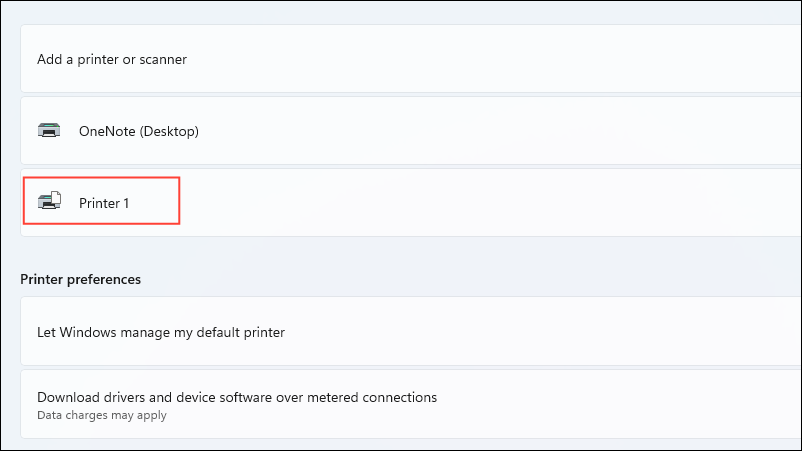
- Go back to the 'Printers and Scanners' page in the Settings app and you will see that the printer now appears under its new name.
Using Command Prompt
If you're familiar with command prompt, you can use it to rename your printer.
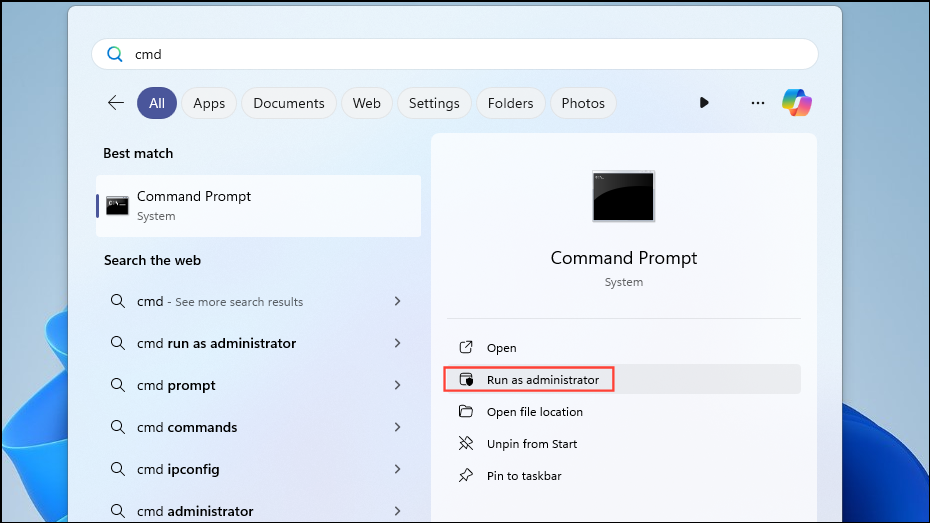
- Open the Start menu, type
cmd, and click on the 'Run As Administrator' option.
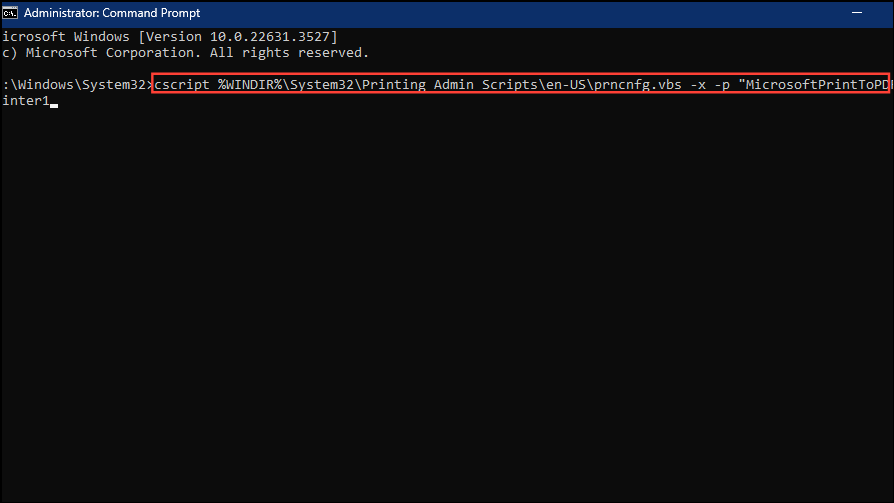
- Now, type
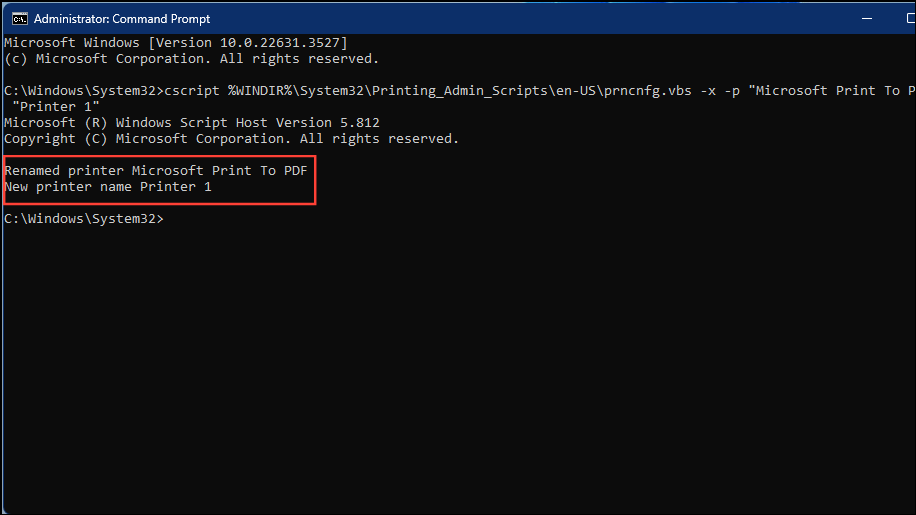
cscript %WINDIR%\System32\Printing_Admin_Scripts\en-US\prncnfg.vbs -x -p "CurrentPrinterName" -z "NewPrinterName"in the command prompt window. Replace 'CurrentPrinterName' with the name of your printer and 'NewPrinterName' with the name you want to assign.
- Once you run the command, a message will appear indicating that your printer has been renamed.
With PowerShell
PowerShell is an alternative to Command Prompt that lets you easily rename your printer using basic commands.
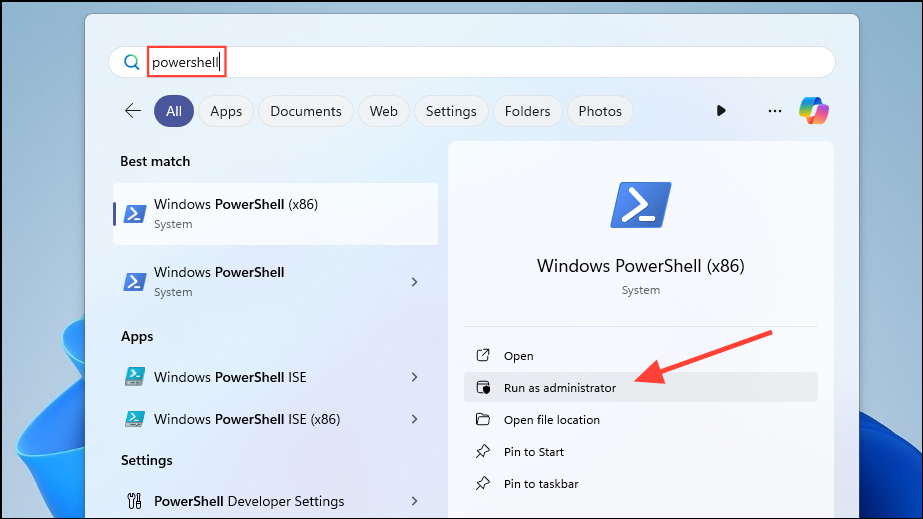
- Open the Start menu, type
powershell, and click on the 'Run As Administrator' option.
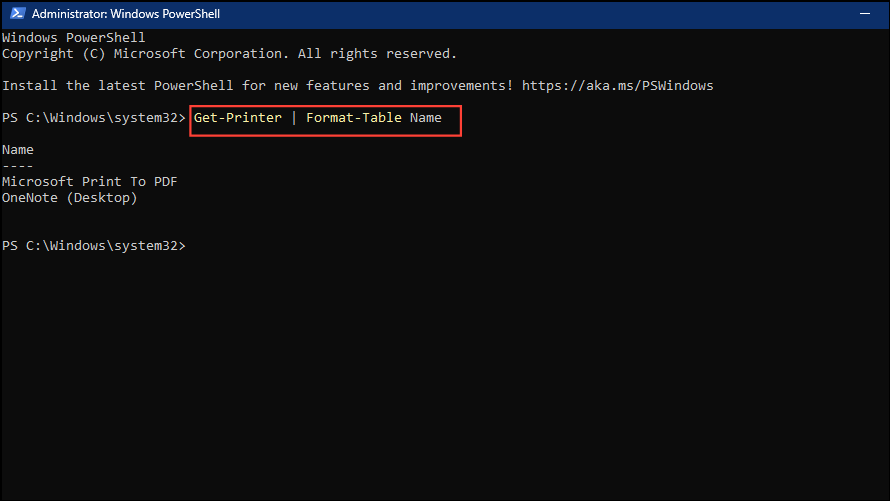
- When the PowerShell window opens up, copy and paste the following command into it:
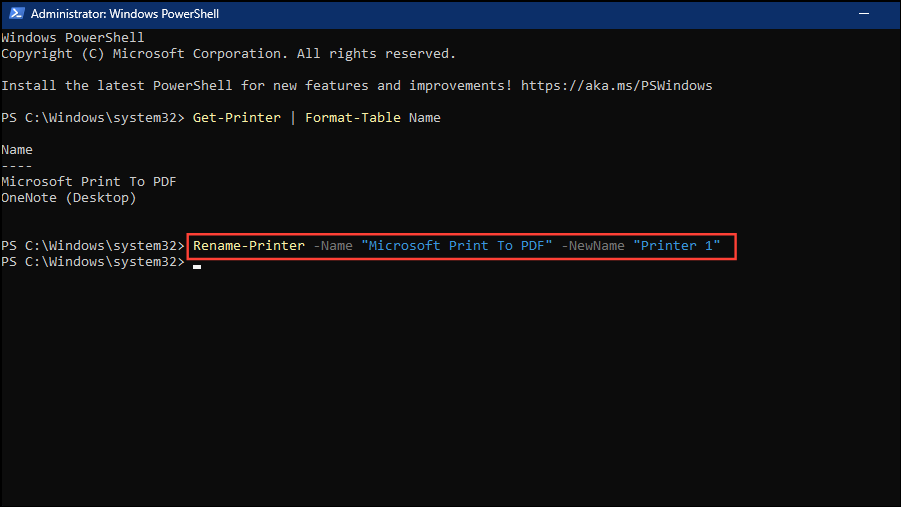
Get-Printer | Format-Table Namebefore pressing the 'Enter' key to list the available printers.
- Note the name of the printer you want to rename and then type the following command into the PowerShell window:
Rename-Printer -Name "CurrentPrinterName" -NewName "NewPrinterName".
Replace 'CurrentPrinterName' with the name of the printer you want to rename and 'NewPrinterName' with the name you want to assign. Then press Enter.
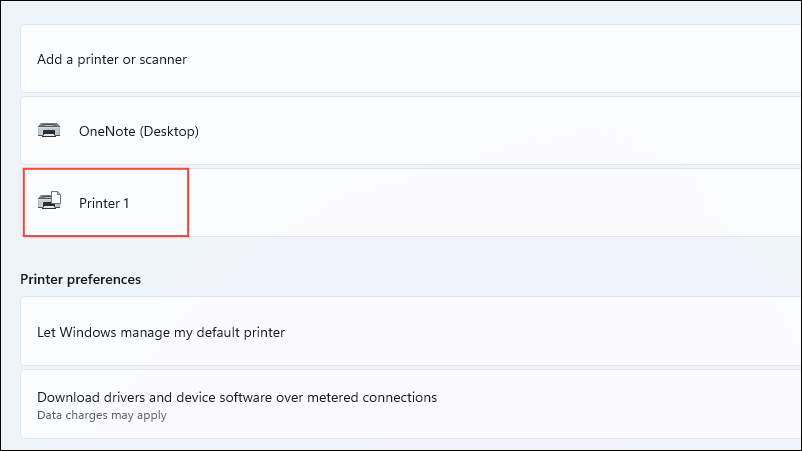
- You can check whether your printer has been renamed by opening the 'Printers and Scanners' page in the Settings app.
There are multiple methods by which you can rename your printer in Windows 11, and you can use the one you find most suitable. Earlier, you could also rename your printer from the Control Panel, but since Microsoft has migrated almost all printer settings to the new Settings app, this is no longer possible.
If at any point you want to restore the default name of your printer, simply remove it from Windows 11 and add it again. Windows will automatically assign its default, generic name to it.


Member discussion