

Sometimes, when trying to install an app on Windows 11, you may not be able to do so. But what you may consider to be a bug, is in fact, a feature of the OS designed by Microsoft to ensure its safety and security. This feature, called Microsoft Verified Apps, ensures that only apps that are verified by Microsoft can be installed on your system.
Microsoft Verified Apps are those that are available on the Microsoft Store, and you can install them from there directly. Unfortunately, this can create a problem when you want to use an application that is not verified since it is not present in the store. However, the good news is that it is still possible to install such apps on your computer. There are a few methods you can use for this purpose, and this guide explains them all in detail.
Change Windows 11 Settings
The easiest way to install unverified applications on Windows 11 is by enabling their installation from the OS settings.
- Open the Settings app and click on the 'Apps' option on the left.
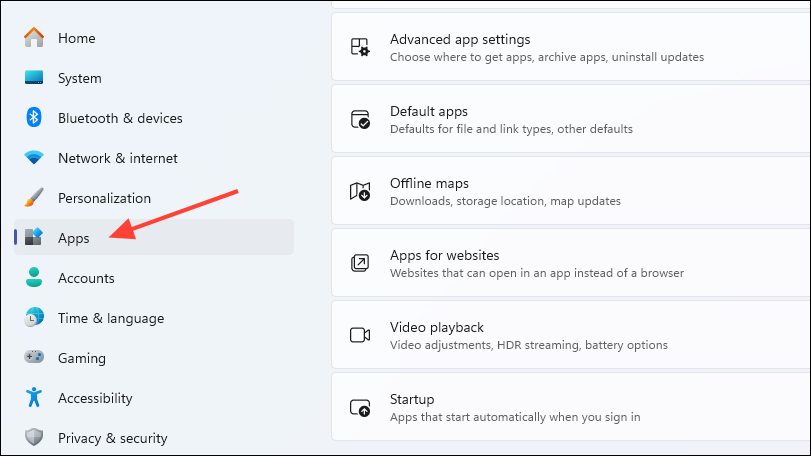
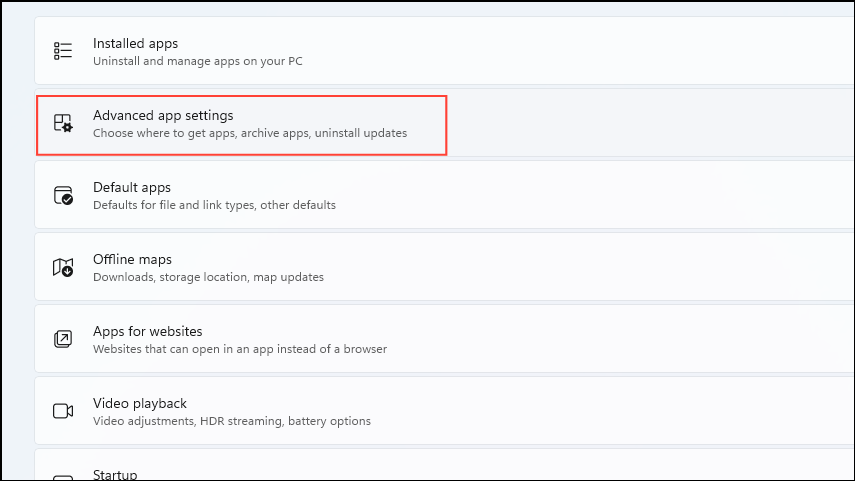
- On the Apps page, click on the 'Advanced App Settings' option.
- Click on the drop-down menu on the right of the 'Choose Where To Get Apps' option at the top and set it to 'Anywhere'.
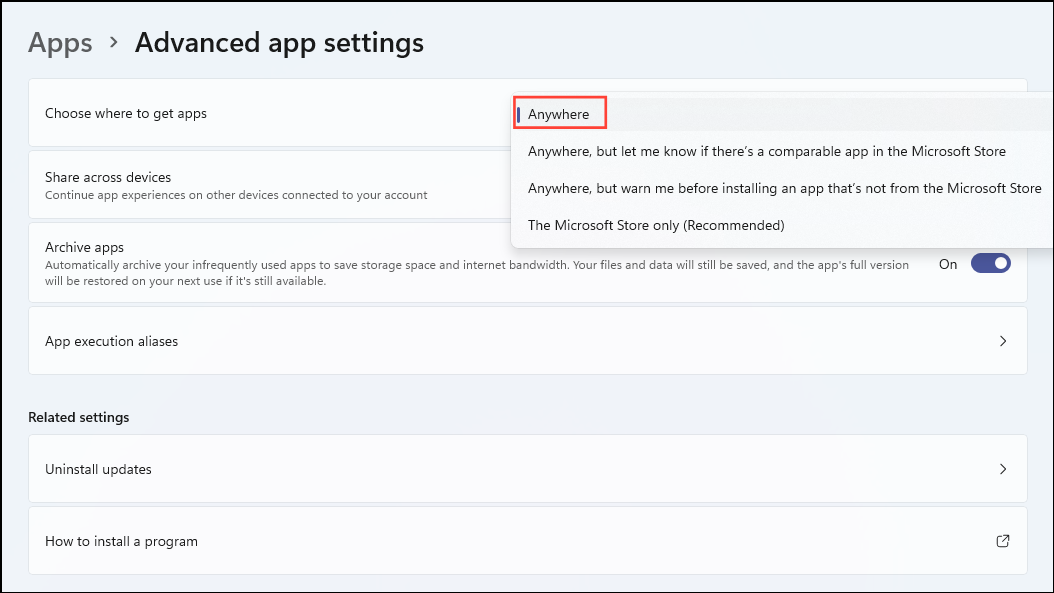
This should allow the system to install applications from anywhere, and not just the Microsoft Store.
Use the Group Policy Editor
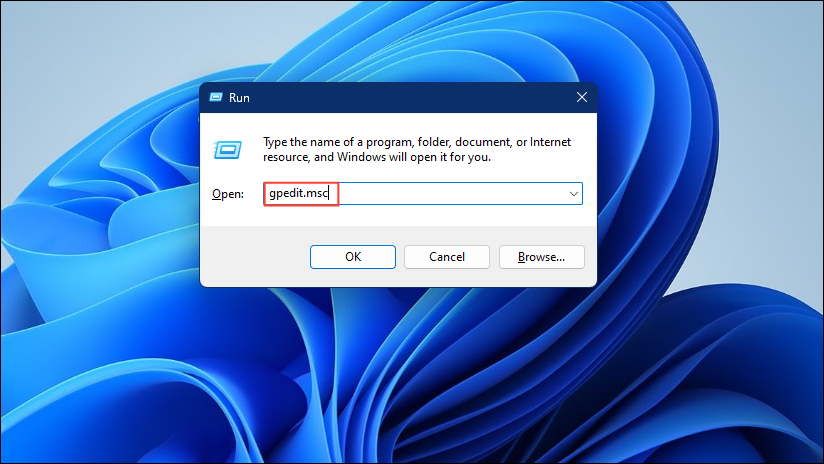
Another way by which you can bypass Microsoft's Verified Apps warning is by using the Group Policy Editor, but this will only work if you have Windows 11 Pro.
- Use the
Win + Rshortcut to open the Run dialog box and then typegpedit.mscbefore pressing the 'Enter' key.
- When the Group Policy Editor opens up, navigate to the following location using the folders on the left:
Computer Configuration > Administrative Templates > Windows Components > Windows Defender SmartScreen > Explorer
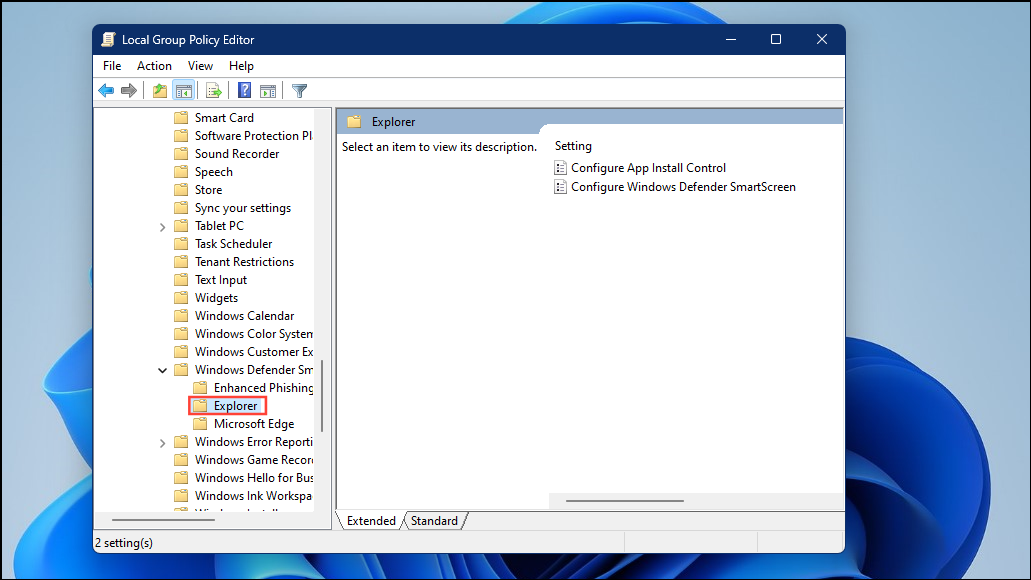
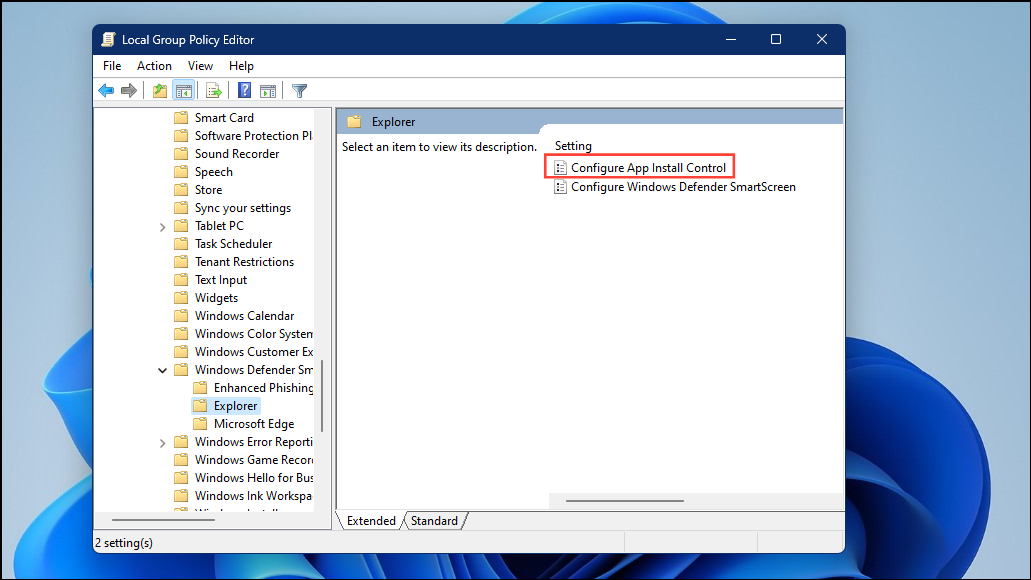
- Double-click on the 'Configure App Install Control' setting on the right to edit it.
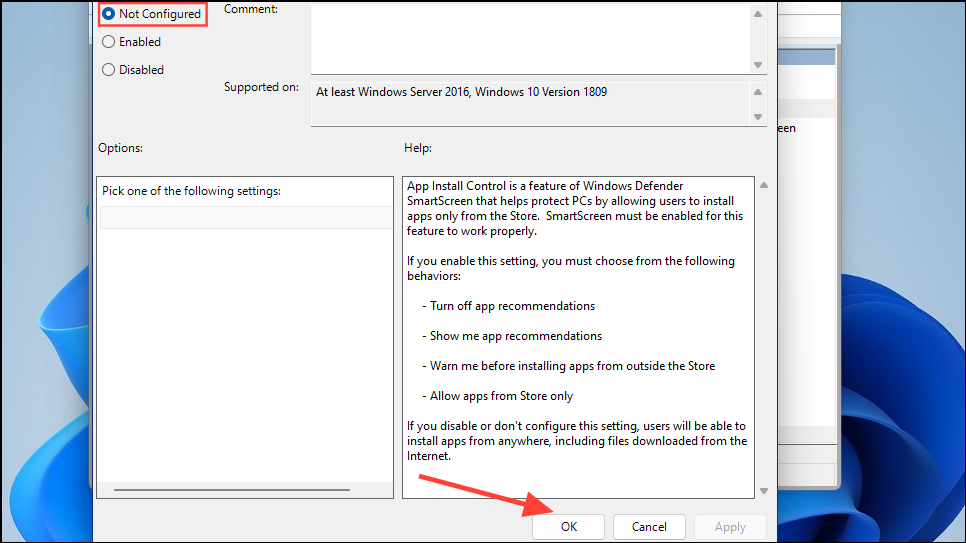
- Make sure the setting is set to 'Not Configured' or 'Disabled', and then click on the 'OK' button.
Edit the Registry
You can also edit the registry to allow Windows to install unverified apps, but make sure to create a backup of the registry first. Messing with the registry can create a lot of problems with the system, and having a backup ready can help you avoid them.
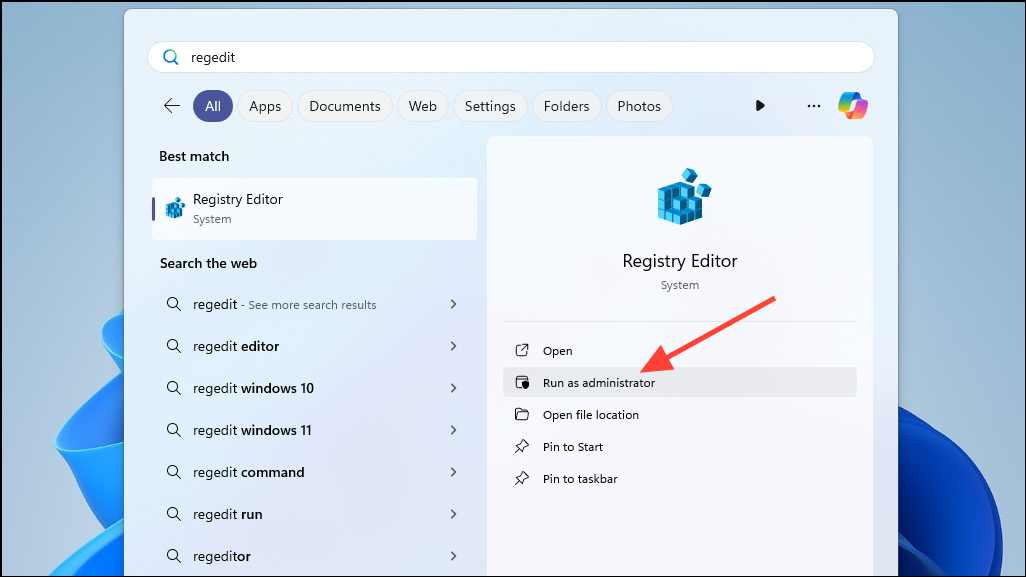
- Open the Start menu, type
regdit, and then click on the 'Run As Administrator' option.
- Once the Registry Editor opens, paste the following address into the address bar at the top to navigate to this location.
HKEY_LOCAL_MACHINE\SOFTWARE\Microsoft\Windows\CurrentVersion\Explorer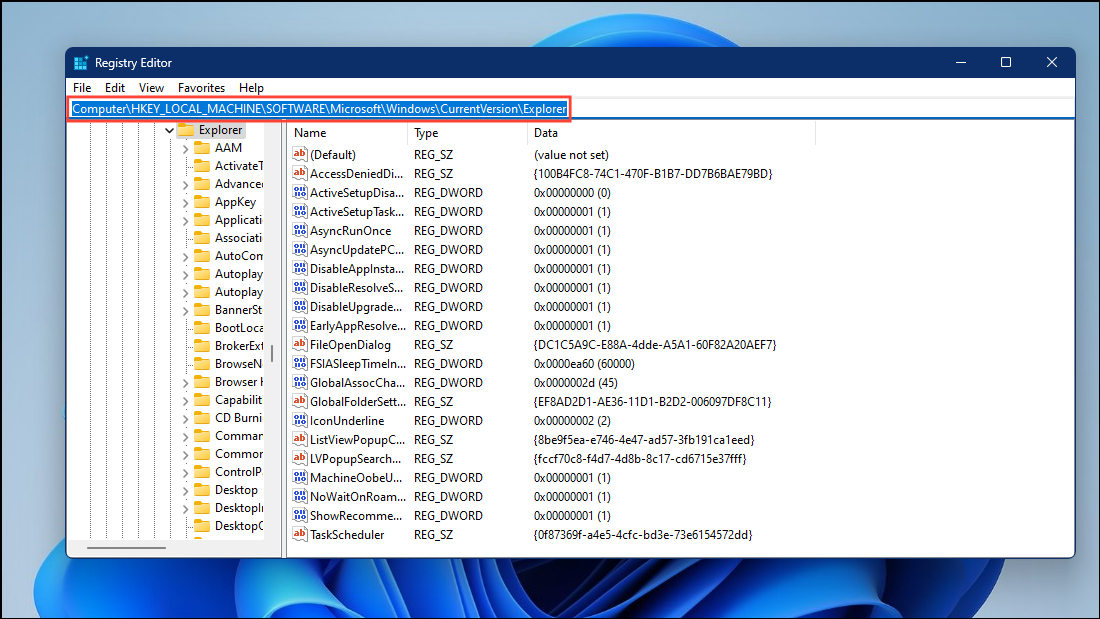
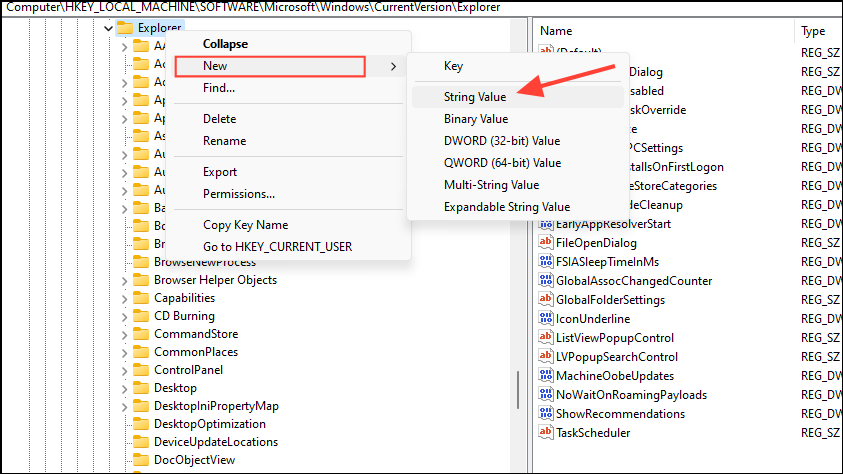
- Search for 'AicEnabled' in the right pane. If it is not present, right-click on the Explorer key on the left, click on 'New', and then on 'String Value'.
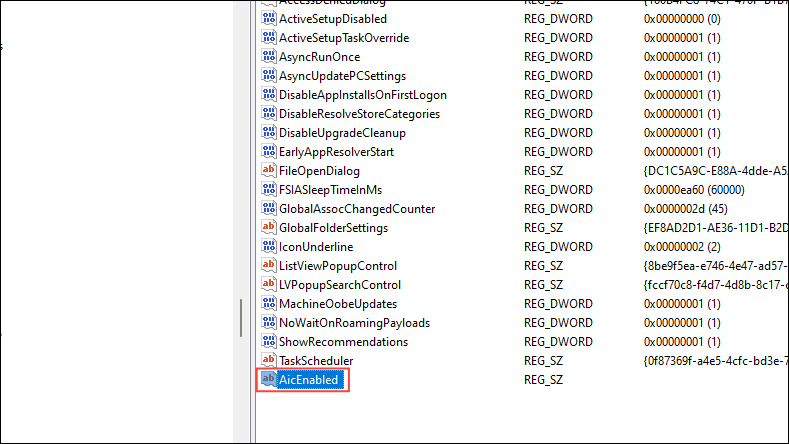
- Name the newly created string value 'AicEnabled'.
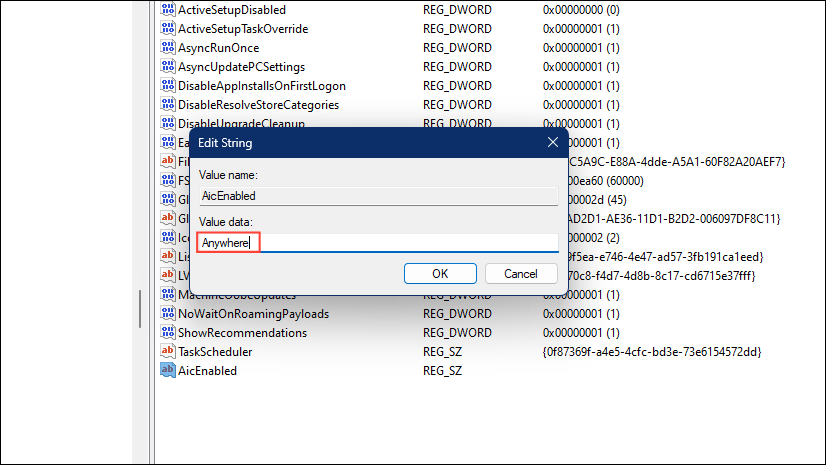
- Double-click on the string value and change its value data to 'Anywhere'. Click on the 'OK' button and close the registry editor.
Now, you should be able to install unverified apps on your Windows 11 PC. If you cannot, reboot your computer and try again.
Use Command Prompt
This is the final method by which you can install applications on Windows 11 even if they are not verified by Microsoft.
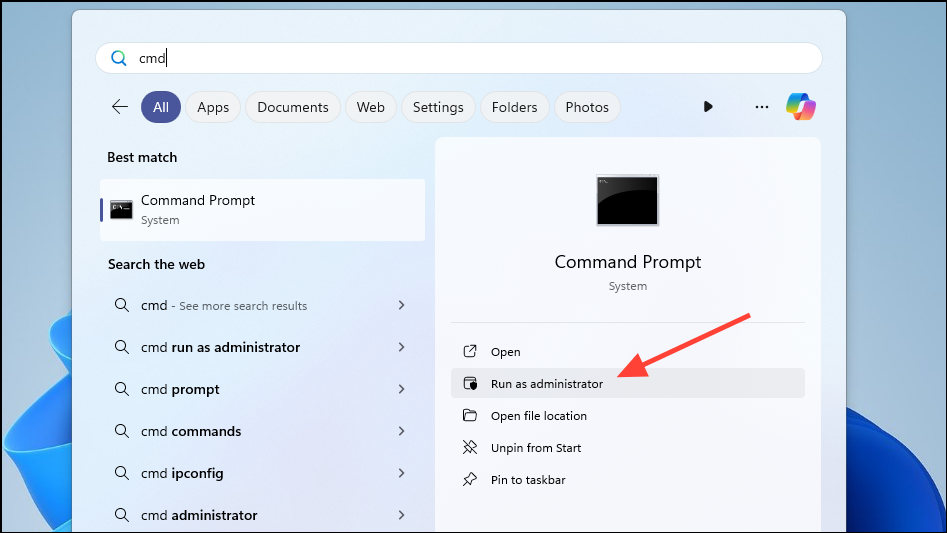
- Open the Start menu, type
cmd, and click on 'Run As Administrator'.
- When the command prompt window opens up, type
reg add HKEY_LOCAL_MACHINE\SOFTWARE\Microsoft\Windows\CurrentVersion\Explorer /v AicEnabled /t REG_SZ /d Anywhere
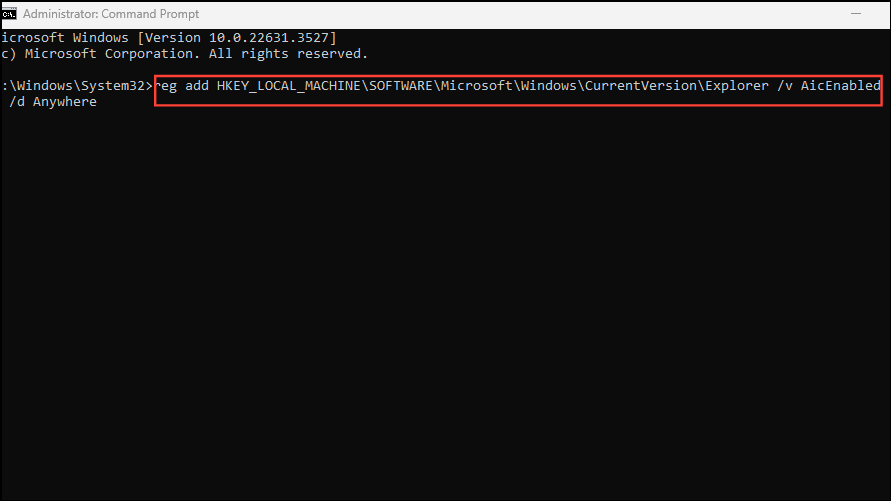
Now, you should be able to install applications from anywhere on your Windows 11 PC.
Switch Out Of S Mode
With Windows 10, Microsoft started offering an S Mode, which provided a familiar user experience while ensuring better performance and security. One of the key features of this mode is that it only allows you to use applications available in the Microsoft Store.
So, if you want to use unverified apps and have the S Mode enabled, you will need to switch out of it first. Keep in mind that once you switch out of S Mode, you will not be able to go back.
- Click on this link to open the Microsoft Store and switch out of S Mode.
- You will see a 'Switch Out Of S Mode' or similar store page. Click on the 'Get' button to proceed.

Once you've switched out of the S Mode, you can install apps from anywhere on your Windows 11 PC.
Microsoft's Verified Apps strategy is meant to provide protection to the Windows OS and its users. However, many apps an average user needs may not be present in the Microsoft Store. With the above methods, you can get around this block and freely install applications from wherever you want.
That said, when installing apps, make sure you get them from trusted websites and sources. Also, make sure your antivirus is active and up-to-date, so it can let you know when an app is malicious and can harm your system.


Member discussion